| Last additions - Traxide SC80-LR |
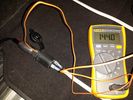
Marine Plug333 viewsRunning a cigarette plug rated at 15a with a plug rated at 20a drawing 5a at 12.8v will generate more heat than you want. Use Anderson or hardware.29 Oct 2015
|
|
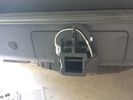
Rhino Hitch417 viewsCover fitted over the 75A Anderson plug with Rhino Hitch fitted which is a Class IV hitch. https://www.facebook.com/DifferentialPartsUS
Fits the Disco 3, Disco 4 and Range Rover Sport12 Jun 2015
|
|
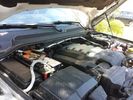
Traxide USI-160 Install497 viewsOverview picture of Traxide USI-160 upgrade install. This was an upgrade from the SC80 which performed flawlessly. The USI-160 had two relays and can deliver more amperage. As a result, the wiring was upgraded to 4/0 Welding Cable (warn) and heat shielding was added. The unit performs flawlessly to support 2 HAM Radios, Fridge, etc. Like me https://www.facebook.com/DifferentialPartsUS 16 Apr 2015
|
|
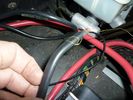
Firewall Plug596 viewsFeeding a guide wire through the new hole.07 Apr 2015
|
|
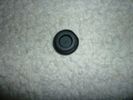
Firewall Plug525 viewsThis is the plug removed from the firewall, before cutting a hole to feed a wire through. Displace as much rubber as wire, so it is snug, but not to big, or you won't be able to snap it in. 07 Apr 2015
|
|
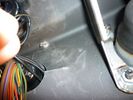
Wire Run651 viewsThis is the inside the vehicle view of the hole, to run the feed wire through the firewall. 07 Apr 2015
|
|
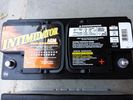
Deka 9A49 AGM Intimidator320 viewsThe Deka 9A49 AGM Intimidator makes an excellent primary battery alternative to the factory or Interstate. Made in US of premium quality. This is an excellent match with the Traxide system w/another Deka or Yellow Top optima.
This will behave properly in your D3/4 LR3 with slightly less wear and tear on your alternator.03 Apr 2015
|
|
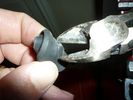
firewall plug run708 viewsThe rubber grommet from firewall plug, removed, with a hole cut in the middle. Instructions say to cut it to the center, but you can cut a hole out by bending it, and using a pair of diagonal pliers, removing excess material so you can fit the plug back in.30 Jan 2012
|
|
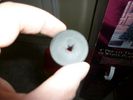
firewall plug run651 viewsThe rubber grommet from firewall plug, removed, with a hole cut in the middle. Instructions say to cut it to the center, but you can cut a hole out by bending it, and using a pair of diagonal pliers, removing excess material so you can fit the plug back in.30 Jan 2012
|
|
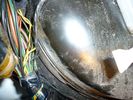
firewall plug run916 viewsThis is the engine side view, of where to poke the hole with a screwdriver to make a hole into the vehicle. You can barely see the edge of the hole. Note: The Rubber plug should be removed for this operation.30 Jan 2012
|
|
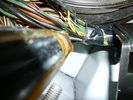
firewall plug run862 viewsScrewdriver poked through the firewall hole30 Jan 2012
|
|
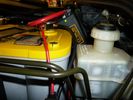
Traxide SC80-LR mounted562 viewsAnother view of the mounted unit.29 Dec 2011
|
|
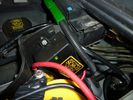
Traxide SC80-LR mounted591 viewsA close up showing the angle, mounting bolt. Only a single top bolt can be used, there are metal lines behind the lower bolt hole.29 Dec 2011
|
|
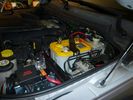
Traxide SC80-LR mounted708 viewsIn this position it fits properly without stress or stretching the plastic. A single small bolt holds it securely in place, and not toughing or rubbing on wires or suspension air lines.29 Dec 2011
|
|
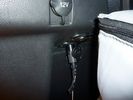
rear socket installation complete671 viewsdemonstrate a neat and roomy install27 Dec 2011
|
|

traxide797 viewsThis would be an ideal location for the traxide 80 kit, there are pre threaded holes available here.. would take a bit of fitting, and extending the cable to the primary battery would need to be extended.27 Dec 2011
|
|
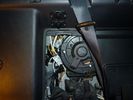
rear socket install1023 viewsShows to white cable run, cable routing, cable ties and socket placement. Rear sockets fitted. Note the white power cable, and cable tie location. The socket in this position are neatly back out of the way, but handy.27 Dec 2011
|
|
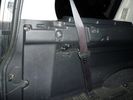
rear socket install827 viewsThis photo shows the rear sockets installed, shows how the sockets in use are tucked up nicely and out of the way.27 Dec 2011
|
|
rear socket installation complete635 viewsThis demonstrates the rear sockets installed, shows how the sockets in use are tucked up nicely and out of the way.27 Dec 2011
|
|
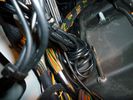
firewall plug run907 viewsHow to get the cable from the engine bay to the rear of the vehicle.27 Dec 2011
|
|
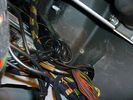
firewall plug run837 viewsThrough the firewall to the right of the brake master cylinder. On left hand drive, this hole would be closest to the outside edge of vehicle.27 Dec 2011
|
|
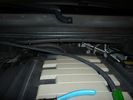
traxide cable run732 viewsTraxide cable between primary and secondary battery.27 Dec 2011
|
|
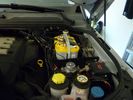
Yellow Top686 views27 Dec 2011
|
|
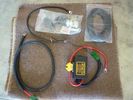
Traxide SC80-LR645 viewsKit -- cable was 6 feet short. Check to ensure the length is adequate prior to installing it.27 Dec 2011
|
|
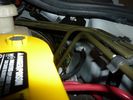
traxide ground 669 viewsTraxide Install - Left hand drive Ground Strap in place.27 Dec 2011
|
|
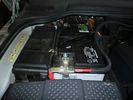
Traxide699 viewsLeft hand drive, primary battery with Traxide cable routed. The battery is on the right.27 Dec 2011
|
|
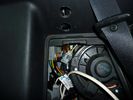
rear socket install1391 viewsTraxide rear socket installation, alternative location. These holes must be precisely in this location because there is little clearance to the right of left due to the blower motor and hoses, etc.27 Dec 2011
|
|
|
|
|