The Coachman |
 |
| TITLE |
+ |
- |
| FILE NAME |
+ |
- |
| DATE |
+ |
- |
| POSITION |
+ |
- |
|
|

London 2 Brighton 2008143 views
|
|

2 on drive86 views
|
|
73 views
|
|

As purchased98 views
|
|

Peterborough 200885 views
|
|

Some mods135 views
|
|

Some mods101 views
|
|

Some mods127 views
|
|

Some mods91 views
|
|

Some mods149 views
|
|

Peterborough 2008112 views
|
|
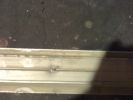
D3 Side Step Repairs152 viewsHow I repaired my damaged side step after a days offroading at Tong in November 2008
|
|
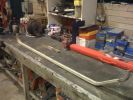
D3 Side Step Repairs155 viewsAluminium trim has been straightend out but need to remove all the old rivets from the rear of the trim.
|
|
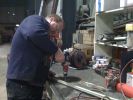
D3 Side Step Repairs185 viewsThere are about 10 rivets to drill out. I also increased the hole size to 5.5mm as I will be using larger rivets to hold the trim back in place. 5.5mm is the larger rivet size commonly available at motor factors etc.
|
|
D3 Side Step Repairs161 viewsI then drilled out the holes in the step edge to 5.5mm to accomodat my larger rivets.
|
|
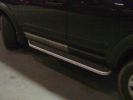
D3 Side Step Repairs164 viewsFinished job all I need to do now is wash it all off. I had already replaced the front door trim using new trim fixers and as you can see it was still dirty.
|
|
D3 Side Step Repairs146 viewsCarefully drill out the old rivet ends. Some were a bit stubborn and I used a small chisel and drift to punch them, out.
|
|
D3 Side Step Repairs162 viewsAgain there are 10 holes to incresae the size of.
|
|
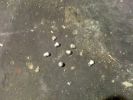
D3 Side Step Repairs145 viewsThe old rivet ends which I removed from the trim. I took one rubber end off the trim and let them all out by shaking it to save them rattling around inside the trim for years to come.
|
|
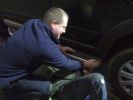
D3 Side Step Repairs166 viewsWhilst I held the trim in place a second person inserted the rivets from behind the step edge. We started in the middle and worked out either way to ensure a snug fit of the aluminium trim.
|
|
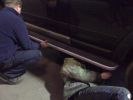
D3 Side Step Repairs168 viewsNearly finished - just the last two rivets to put in. We used a very basic and cheap hand rivet gun which can be bought in places like Halfords for about £10.00 and usually come with a supply of rivets to do the job.
|
|
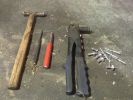
D3 Side Step Repairs150 viewsTools needed for the repair.
|
|
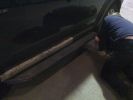
D3 Side Step Repairs149 viewsI then punched out the remaining rivets from the step edge. I used a small hammer and a small punch.
|
|

86 views
|
|
64 views
|
|
80 views
|
|

Gaydon 2009 D3s CG, Brum Lee, Character & The Coachman86 views
|
|

Gaydon 2009 D3s71 views
|
|

Gaydon 2009 car143 views
|
|
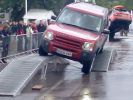
Royal Show 2007 Terrapod99 views
|
|
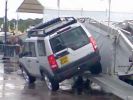
Royal Show 2007 Terrapod102 views
|
|

Rotal Show 2007105 views
|
|

Royal Show 2007 Terrapod105 views
|
|
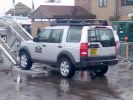
Royal Show 2007 Terrapod99 views
|
|

Royal Show 2007 Terrapod108 views
|
|
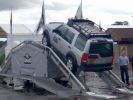
Royal Show 2007 Terrapod97 views
|
|
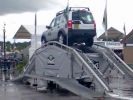
Royal Show 2007 Terrapod94 views
|
|

Camel Discovery87 views
|
|

95 views
|
|

Crystal Palace 2008124 viewsEarly morning at Crystal Palace before thr L2B start.
|
|

Brighton 2008138 viewsArrival at Brighton on the 2008 L2B road run.
|
|
|
|
|
|
|